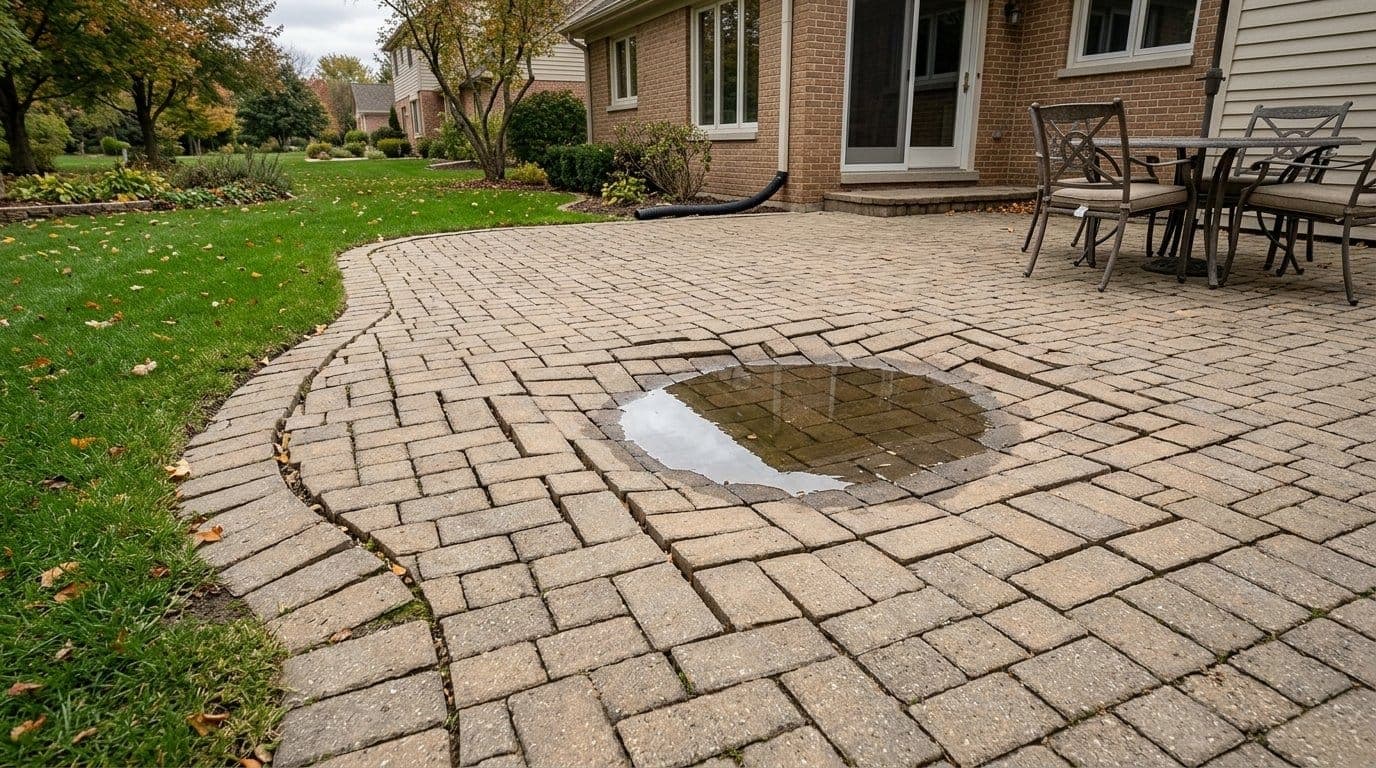
Your patio has a dip in it. One corner holds water after every storm, a couple of pavers rock underfoot, and the edge that used to be a crisp line has started to wander into the lawn. It looks like the pavers are failing.
The pavers are almost never the problem. Concrete pavers routinely outlast the thing they sit on. What fails is the base, the bedding sand, and the edge restraint, the three layers you cannot see. That distinction is the whole ballgame, because it decides whether you are looking at a half day of work on one section or a patio that needs to come up entirely.
This guide covers why paver patios settle across Southern Indiana, Kentucky, and Illinois, how to diagnose yours in about ten minutes, what the common repairs cost, and how to tell a spot fix from a full reset.
Every project is different. The pricing and timelines discussed here are general estimates based on typical projects in our area. Your actual costs and schedule will depend on your property, materials, scope of work, and other factors. Contact us for a personalized estimate.
Why Paver Patios Sink and Shift
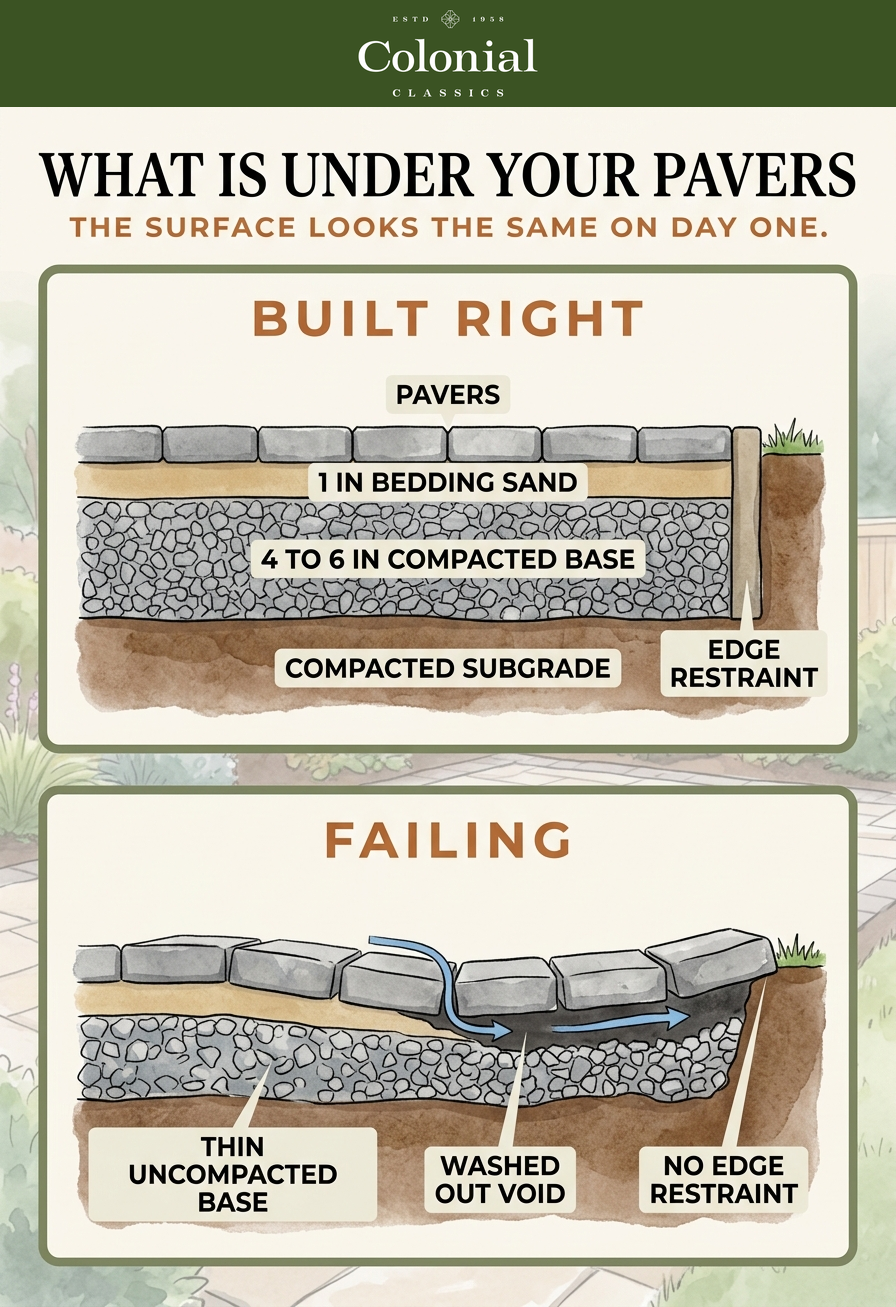
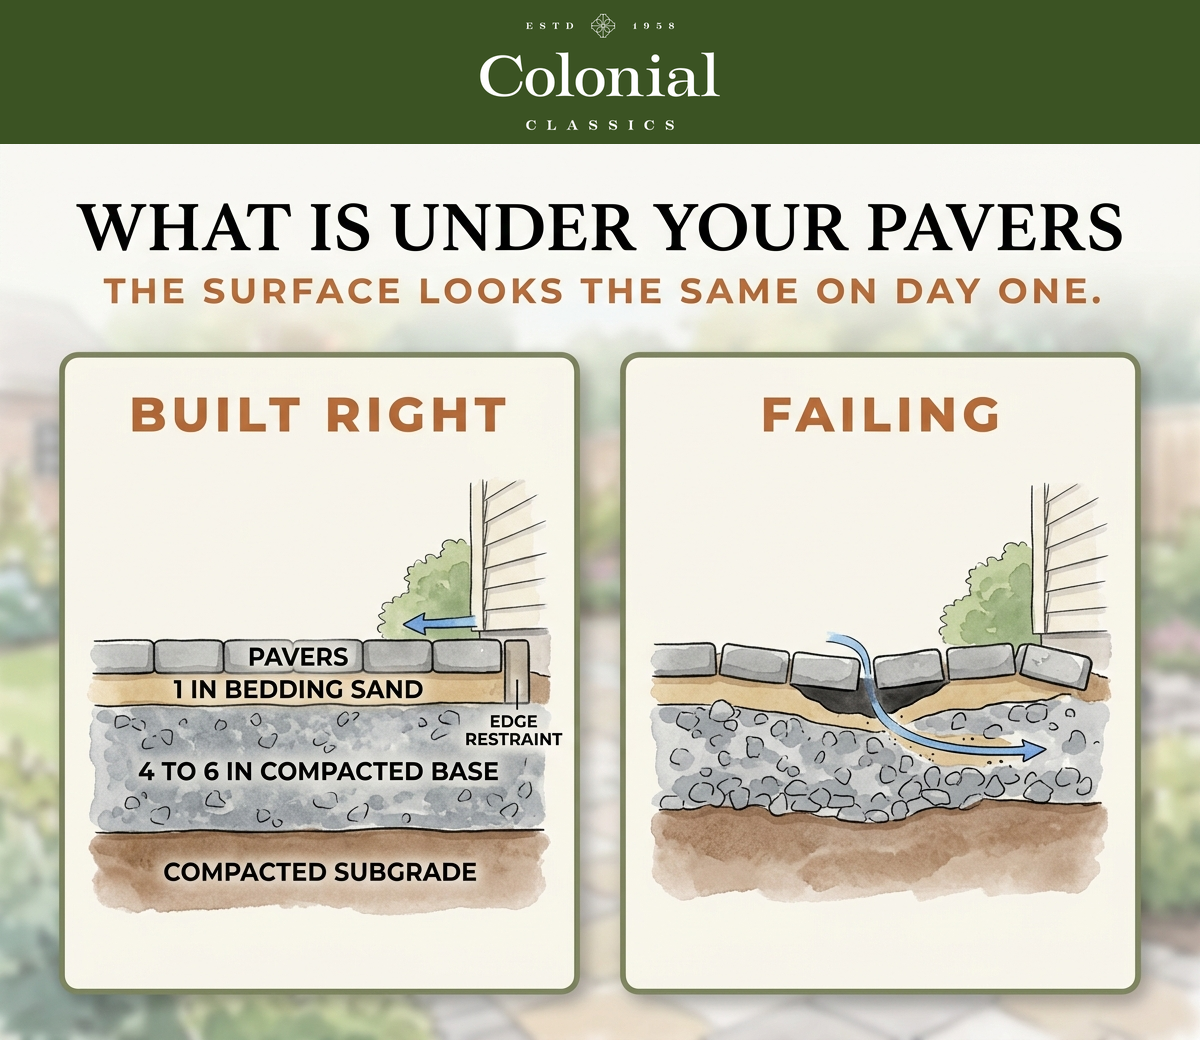
A paver patio is a flexible pavement, not a slab. It works by transferring load down through interlocked units into a compacted stone base, which spreads that load across the soil. Every failure below traces back to one of those layers giving up.
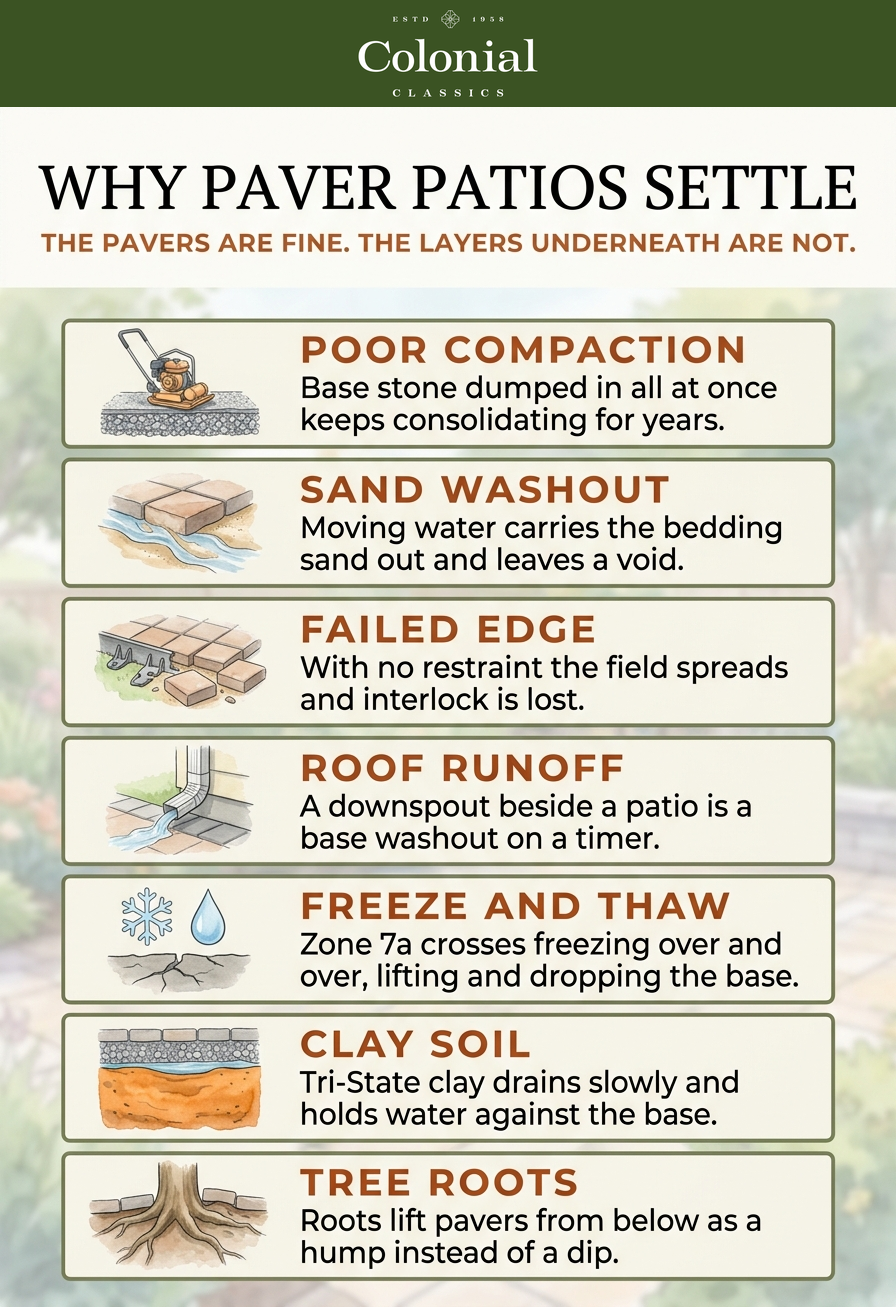
- The base was never compacted properly: This is the most common cause by a wide margin. The Concrete Masonry and Hardscapes Association, which publishes the installation standards for interlocking pavers, sets a minimum aggregate base of 4 to 6 inches under walks and 6 to 8 inches under driveways. A patio carries foot traffic like a walk, so 4 to 6 inches of properly compacted stone is the floor for most of them. Depth alone is not enough. The stone has to be compacted in thin layers, and a base dumped in all at once and rolled over a single time will keep consolidating under your feet for years.
- Bedding sand is washing out: Pavers sit on a screeded layer of ASTM C33 concrete sand, 1 to 1.5 inches thick. It is sand, so moving water carries it away. Once water finds a path through the patio and out the side, it takes that bedding layer with it and leaves a void the pavers drop into.
- The edge restraint failed: The perimeter holds everything in compression. When plastic edging breaks, spikes push out, or a patio was built with no restraint at all, the outer pavers creep outward, joints open across the field, and interlock is lost. Edge failure often looks like a middle-of-the-patio problem because the symptoms show up well inside the perimeter.
- Downspouts and runoff discharge onto the patio: A downspout dumping beside a patio edge is a base washout on a timer. So is a slope that funnels roof and yard runoff across the surface. This is the cause most often missed, because homeowners look at the dip rather than at where the water enters it.
- Freeze and thaw cycling: We sit in USDA Zone 7a, where winter crosses the freezing line over and over rather than freezing hard and staying that way. Each cycle lifts saturated ground and drops it again. A patio that drains well takes this in stride. One holding water in its base gets ratcheted a little further out of level every winter.
- Clay soil under the base: The clay-heavy soils common across the Tri-State area drain slowly and hold water against the bottom of the base. You can look up your property's soil composition on the USDA Web Soil Survey to see what yours is built on. Clay does not doom a patio, but it raises the price of skipping drainage details.
- Tree roots: Roots lift pavers from below, usually as a localized hump rather than a dip. Unlike the other causes, this one comes back after a repair unless the root is dealt with, and cutting a structural root to save a patio is a trade worth thinking about before you make it.
How to Diagnose Your Patio in Ten Minutes
You can learn most of what a contractor would tell you with your own eyes and a rainy afternoon.
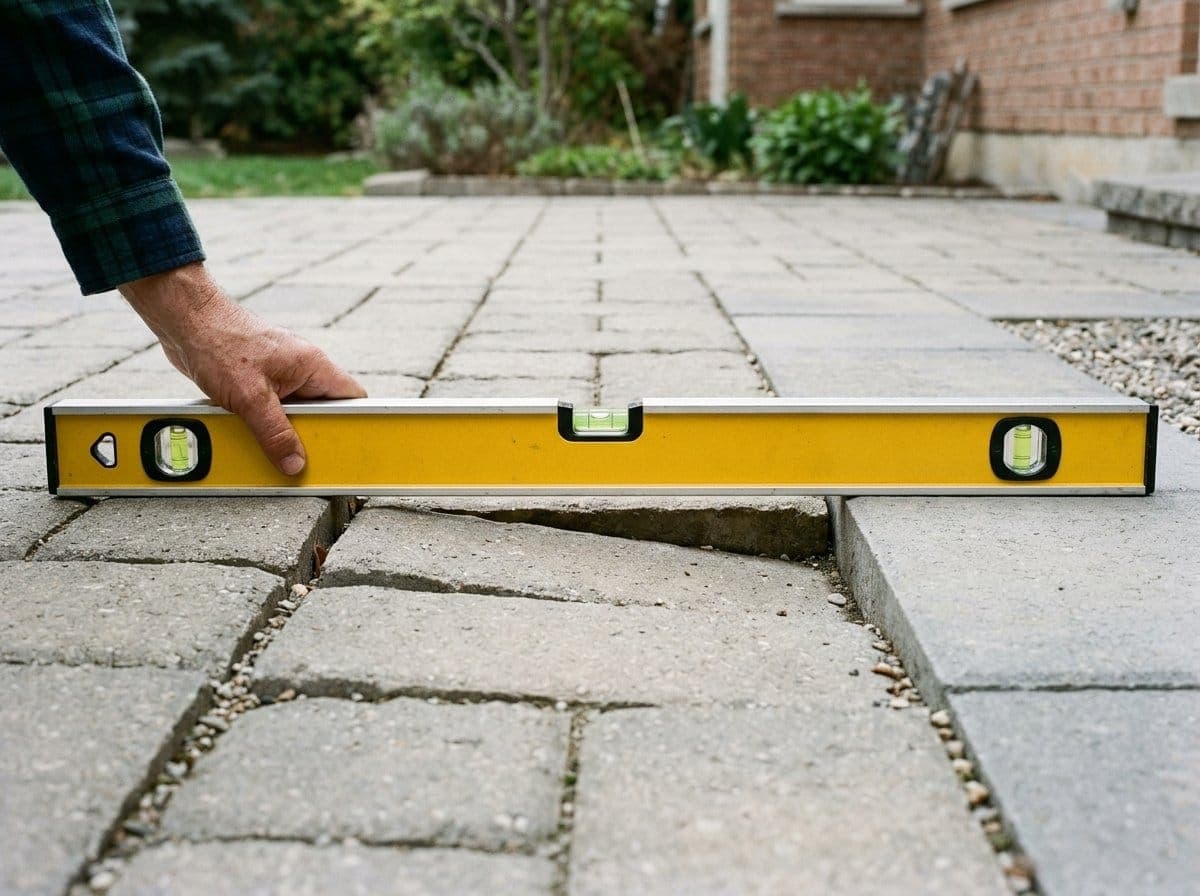
- Sight across the surface at eye level. Crouch at a corner and look across the patio with your eye near paver height. Waves and dips that are invisible from standing height jump out from down there.
- Watch where water goes. A sound patio sheds water away from the house at roughly a quarter inch of fall per foot. Puddles that linger more than an hour mark your low spots. Water running toward your foundation is the one finding that deserves immediate attention.
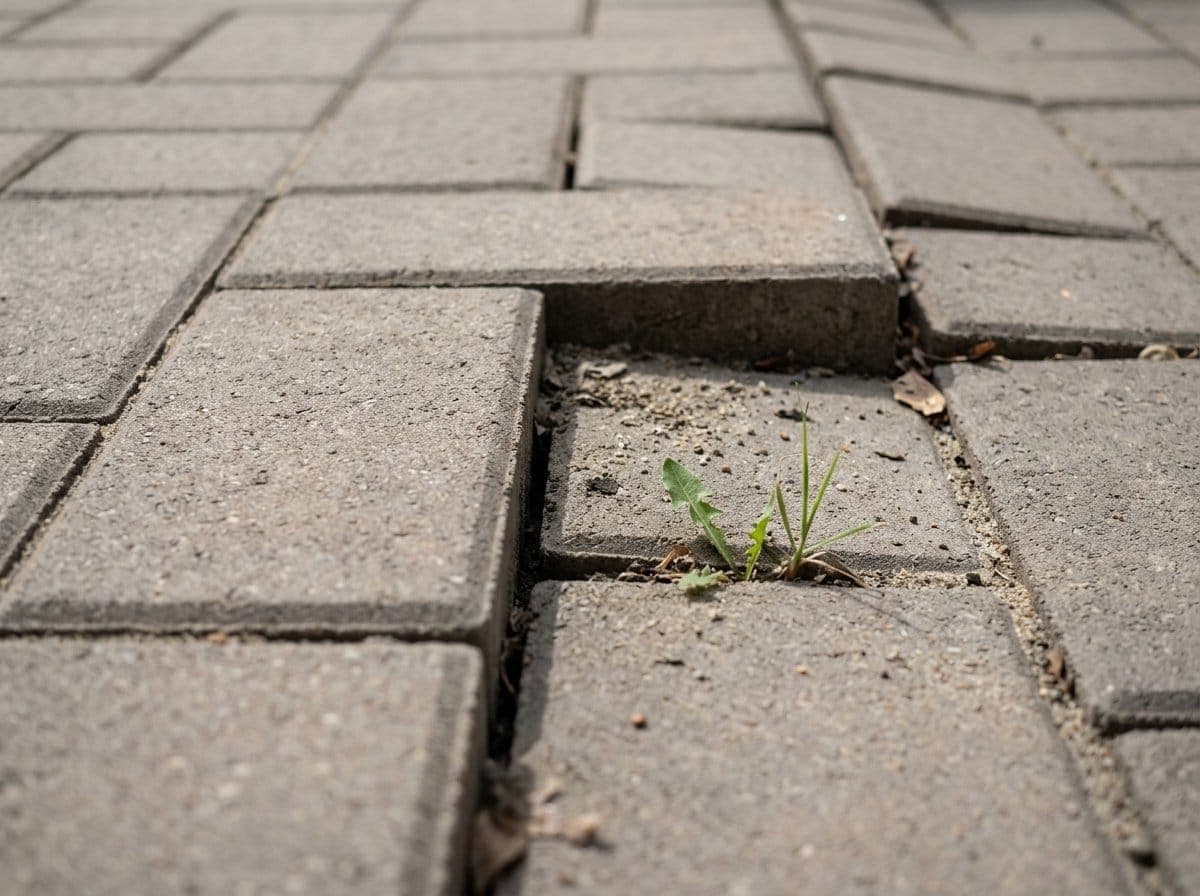
- Read the joints. Widened joints, pavers rotated out of square, and joint sand sitting well below the paver surface all say the field has lost interlock. Weeds in the joints are a symptom of open joints, not a cause of them.
- Push on the edges. Walk the perimeter and lean on the outermost pavers, especially where the patio meets the lawn. Any that rock, tip, or slide mean the restraint is gone.
- Find the water source. Follow every downspout and slope that drains anywhere near the patio. Silt fans, eroded edges, and channels cut in the turf show you the path.
Spot Repair or Full Reset?
The size and pattern of the failure decides it. One settled area in an otherwise flat patio is a local problem with a local fix. Waves and dips scattered across the whole surface mean the base was inadequate everywhere, and lifting one section just moves the complaint.
| What you are seeing | Likely cause | Usual fix |
|---|---|---|
| One dip under a downspout or at an edge | Base washout from concentrated water | Spot repair, and redirect the water first |
| Joint sand gone, joints growing weeds | Joint sand at end of life | Re-sand. Clean out and refill the joints |
| A few rocking or tipping edge pavers | Failed or missing edge restraint | Spot repair. Reset the perimeter |
| A hump over a tree root | Root growth under the base | Spot repair, but expect it to return |
| Cracked or stained individual pavers | Impact, point load, or staining | Swap the units. The patio is fine |
| Low area holding water against the house | Slope lost through settlement | Spot repair, prioritized. Water at a foundation is not a patio problem anymore |
| Waves and dips across the whole patio | Base too thin or never compacted | Full reset |
| Patio spreading outward on multiple sides | Edge restraint gone, interlock lost | Full reset |
The honest version: a full reset is not a failure of your patio so much as a bill coming due from how it was built. The pavers get lifted, cleaned, and stacked, the base gets excavated and rebuilt to proper depth and compaction, and your same pavers go back down. You are paying for labor and stone, not new material, which is why a reset typically runs well under the cost of a new patio.
What Paver Patio Repair Costs
Paver patio repair runs about $7 to $30 per square foot, according to Fixr's 2025 patio repair cost data, which puts overall patio repair between $250 and $1,250 for most homeowners with a national average near $750. Maintenance work like re-sanding and sealing is priced separately and runs far cheaper. Because you are usually repairing a section rather than the whole surface, most of these jobs land well below the cost of replacement.
| Repair | Typical Cost | Best For |
|---|---|---|
| Releveling a settled area | $3 to $6 per sq ft | One low spot, base otherwise sound |
| Repairing a sinking section | $3 to $15 per sq ft | Depth and access drive the range |
| Paver patio repair, all in | $7 to $30 per sq ft | Where most section repairs land |
| Repaving a failed area | $10 to $30 per sq ft | Base inadequate across the patio |
| Typical whole project | $250 to $1,250 | National average near $750 |
Every figure above is repair work. Maintenance jobs like re-sanding joints and sealing are quoted separately and cost far less, but published per-square-foot rates for them vary so widely that we have left them out rather than print a number your contractor will not recognize.
Also missing are single paver replacement and edge restraint repair, because neither has meaningful published per-unit pricing. Almost no contractor prices a cracked paver by the paver. Small repairs get quoted against a minimum service call instead, which is a large part of why the typical project starts around $250 even when the actual work is half an hour. If you have one bad paver, it is worth waiting until you have a second reason to call someone out.
Two things move all of these numbers more than anything else. Access is the first: a patio a wheelbarrow cannot reach costs more than one a skid steer can drive to. Matching material is the second, since paver colors and textures get discontinued, and a patio that needs six replacement units of a 15 year old style may end up better served by pulling units from a hidden edge and putting the mismatch where nobody looks.
If you are weighing a large reset against starting over, our breakdown of what a new paver patio costs gives you the other side of that comparison.
Fix the water before you fix the pavers. If a downspout, a bad slope, or a clogged drain put the dip there, relaying that section without redirecting the water buys you a repair that fails again in the same spot. Extending a downspout is usually the cheapest hardscape repair you will ever make.
How the Common Repairs Actually Work
Releveling a Settled Section
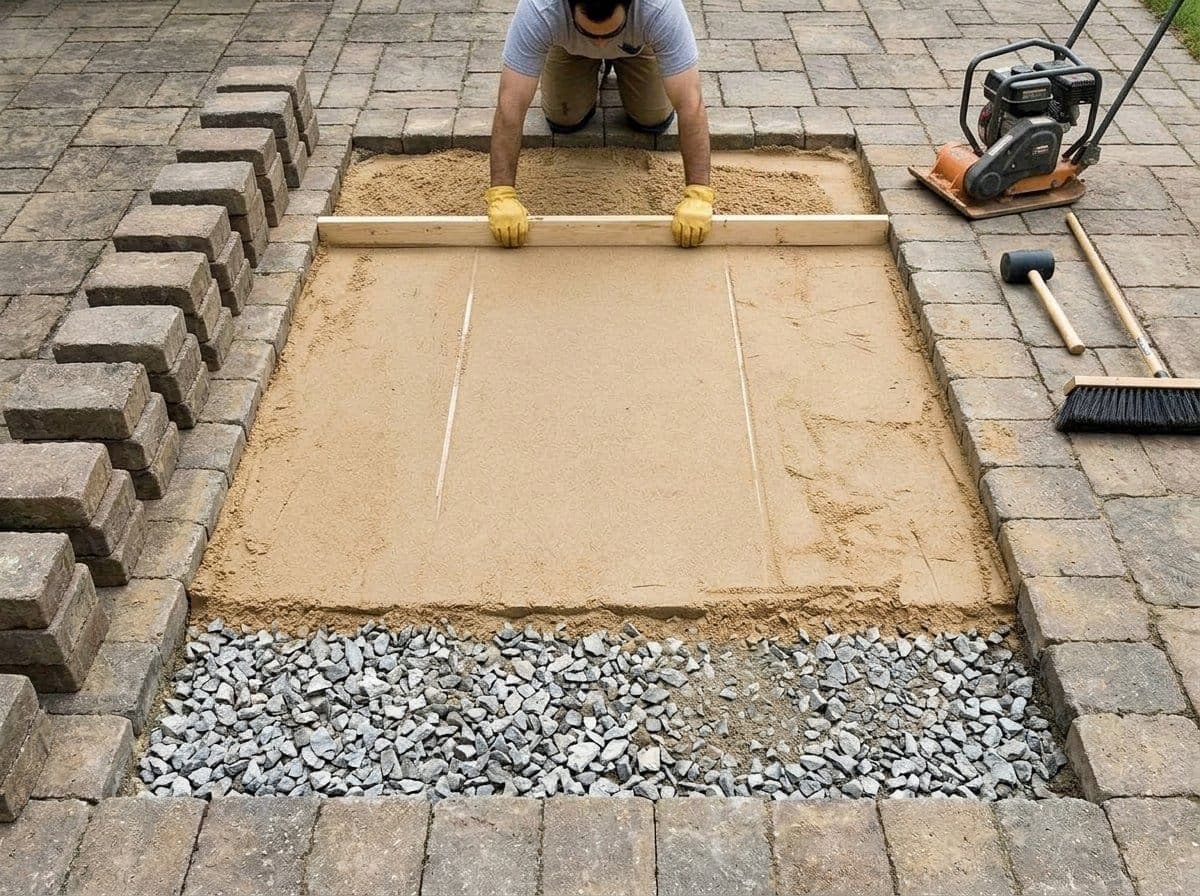
The pavers in the low area come up and get set aside in order, the exposed base is inspected and rebuilt where it has washed out, fresh bedding sand is screeded to a consistent 1 inch, and the same pavers go back in their original pattern. Joints are re-sanded and the area is compacted. Done correctly, a repaired section is invisible within a season once the new joint sand weathers in.
Re-Sanding the Joints
Old joint sand gets cleaned out to a depth of at least an inch, the patio is dried, and new polymeric sand is swept in, compacted, and activated with a careful watering. Polymeric sand is ordinary joint sand blended with binders that harden into a flexible joint, which resists weeds and washout far better than plain sand.
The watering step is where most of these jobs go wrong. Too little and the binder never sets, too much and it washes to the surface as a haze. It is the most DIY-friendly repair on this list and still the one most often redone.
Restoring the Edge Restraint
The perimeter is excavated, the old edging is removed, and new restraint is spiked into the compacted base rather than into soil. This detail matters: restraint anchored in dirt has nothing to hold against, which is why so many patios fail again at the same edge. Concrete haunching along the perimeter is the more durable alternative where an edge takes real abuse.
Replacing Individual Pavers
Damaged units are pried out with paver extractors, the bedding sand is smoothed, and the replacement is set slightly proud and tapped down flush. The hard part is never the labor. It is finding a unit that matches a color that stopped being made a decade ago.
A raised lip is a trip hazard before it is an eyesore. Once a settled edge creates a height difference of more than about a quarter inch, people catch their feet on it, and it tends to be guests rather than the family who has learned where it is. If the low spot is along a main path or near steps, move it up your list regardless of how it looks.
What You Can Handle and What You Should Not
Reasonable to do yourself: re-sanding joints, pulling weeds and refilling, swapping a cracked paver or two, extending downspouts away from the patio, and regrading soil along an edge so runoff sheds away instead of through. That last one is genuinely useful and costs almost nothing.
Worth hiring out: any repair that requires lifting pavers over an area larger than a few square feet, anything involving the base, edge restraint replacement, patios over structures or near a pool, and any low spot draining toward your foundation. The tools matter here too. A plate compactor and a screed do in an hour what hand tamping cannot do at all, and a base that is not compacted to spec simply settles again.
The pattern worth remembering: surface work is DIY, structural work is not. Joint sand, weeds, and a cracked unit are surface. Anything under the pavers is structural.
Should You Seal It?
Sealing is a finish decision, not a repair. A sealer deepens color, makes spills and grease easier to clean, and helps lock joint sand in place. It does not add strength, stop settling, or hold a failing base together.
Seal a patio that is already level and sound, after any repairs are finished and the new joint sand has cured. Sealing over a settling area only means stripping and redoing it when the section comes up. Expect to reapply every three to five years. Bob Vila puts sealer on a paver patio at roughly $200 per 1,000 square feet, though quotes that bundle in a pressure wash beforehand run higher.
While we are on appearance, the chalky white haze that shows up on pavers is efflorescence, mineral salts carried to the surface by water passing through the concrete. It is cosmetic, it usually weathers away within a year or two, and cleaners speed it up. Worth noting rather than worrying about, though, since efflorescence that keeps coming back is telling you water is moving through the patio regularly.
Time Repairs Before Winter
Late summer through fall is the right window in the Tri-State area, for the same reason it is right for hardscape generally. The soil is at its driest, so excavation is cleaner and compaction is more reliable. Finishing before winter means your patio is not heading into the freeze and thaw season with an open joint or a void under it collecting water.
A dip that is a nuisance in September is a wider dip by April. Water collects in the low spot, the base loses more material under it every cycle, and what would have been a one section repair becomes a larger one.
If a contractor's plan for your sunken patio does not include what happens to the water and how the base gets recompacted, it is not a repair. You are paying to have the same pavers put back over the same problem.
Get an Honest Look at It
The hard part of a settling patio is not the labor. It is knowing whether you are looking at one bad section or a base that was underbuilt everywhere, and that answer lives under the pavers where you cannot see it.
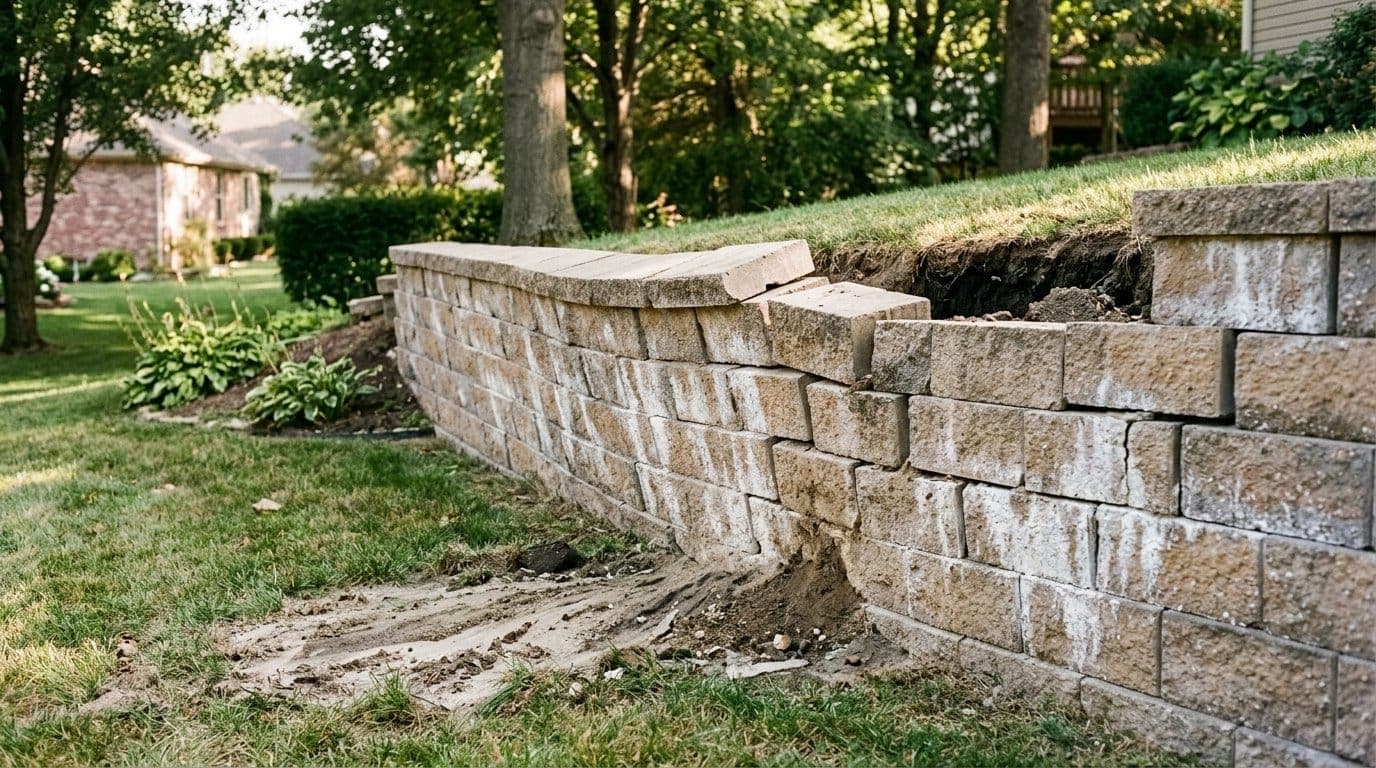
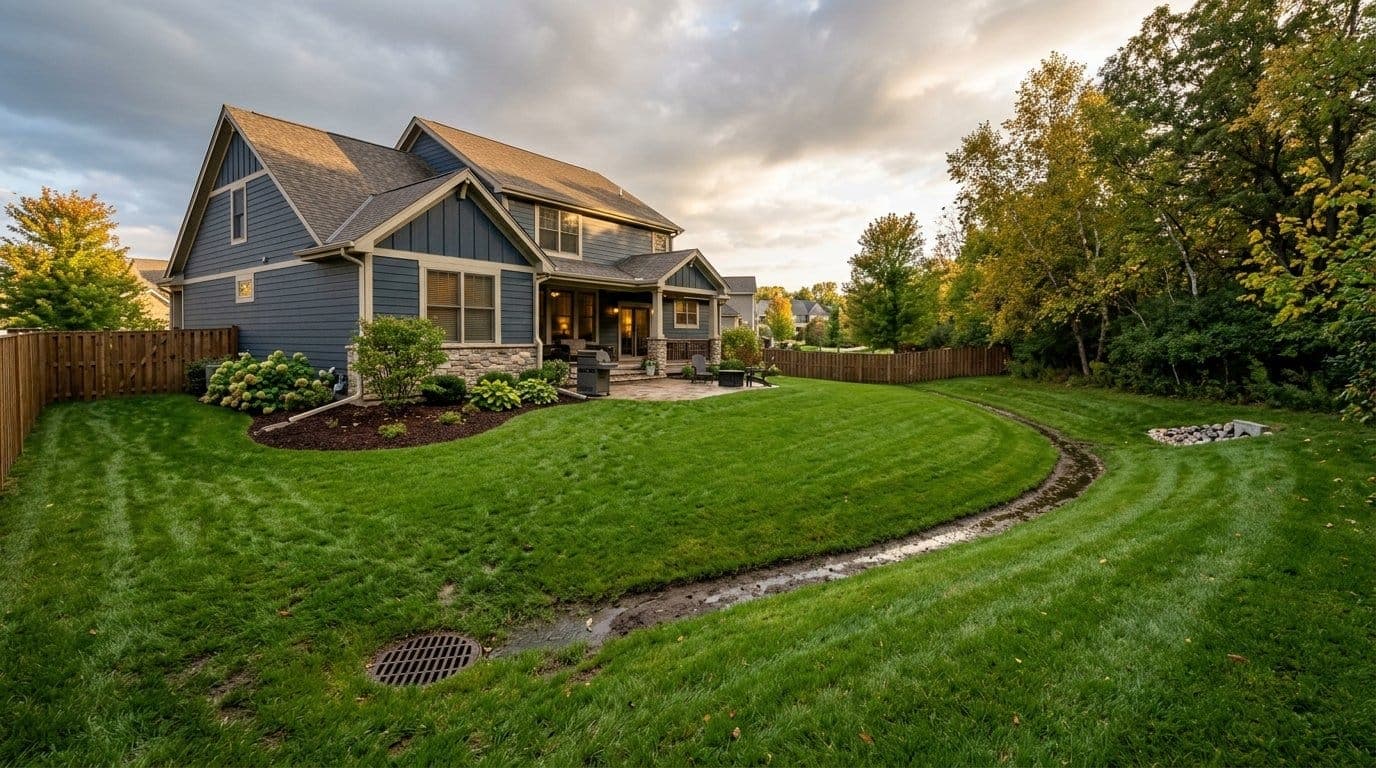
We design, build, and repair hardscaping across Newburgh, Evansville, and the wider Tri-State area, and we would rather tell you that re-sanding the joints will hold you for five more years than sell you a reset you do not need. If water is showing up in more places than just the patio, it is worth reading our guide to fixing yard drainage problems, because settling hardscape and a wet yard usually turn out to be the same conversation. The same is true if you have a wall nearby, which our guide to retaining wall repair covers.
Reach out for an assessment and we will tell you what is under your pavers, not just what we can see on top of them.